Tuesday 31 March 2015

A fun day out!

Hello! I hope you all had a nice weekend.... I had a very busy weekend which was a lot of fun! Firstly, my children all returned home from university for their Easter holidays and, it was so nice to see them again.... the terms can seem very long sometimes! My sister also came to stay, so we had a full house!


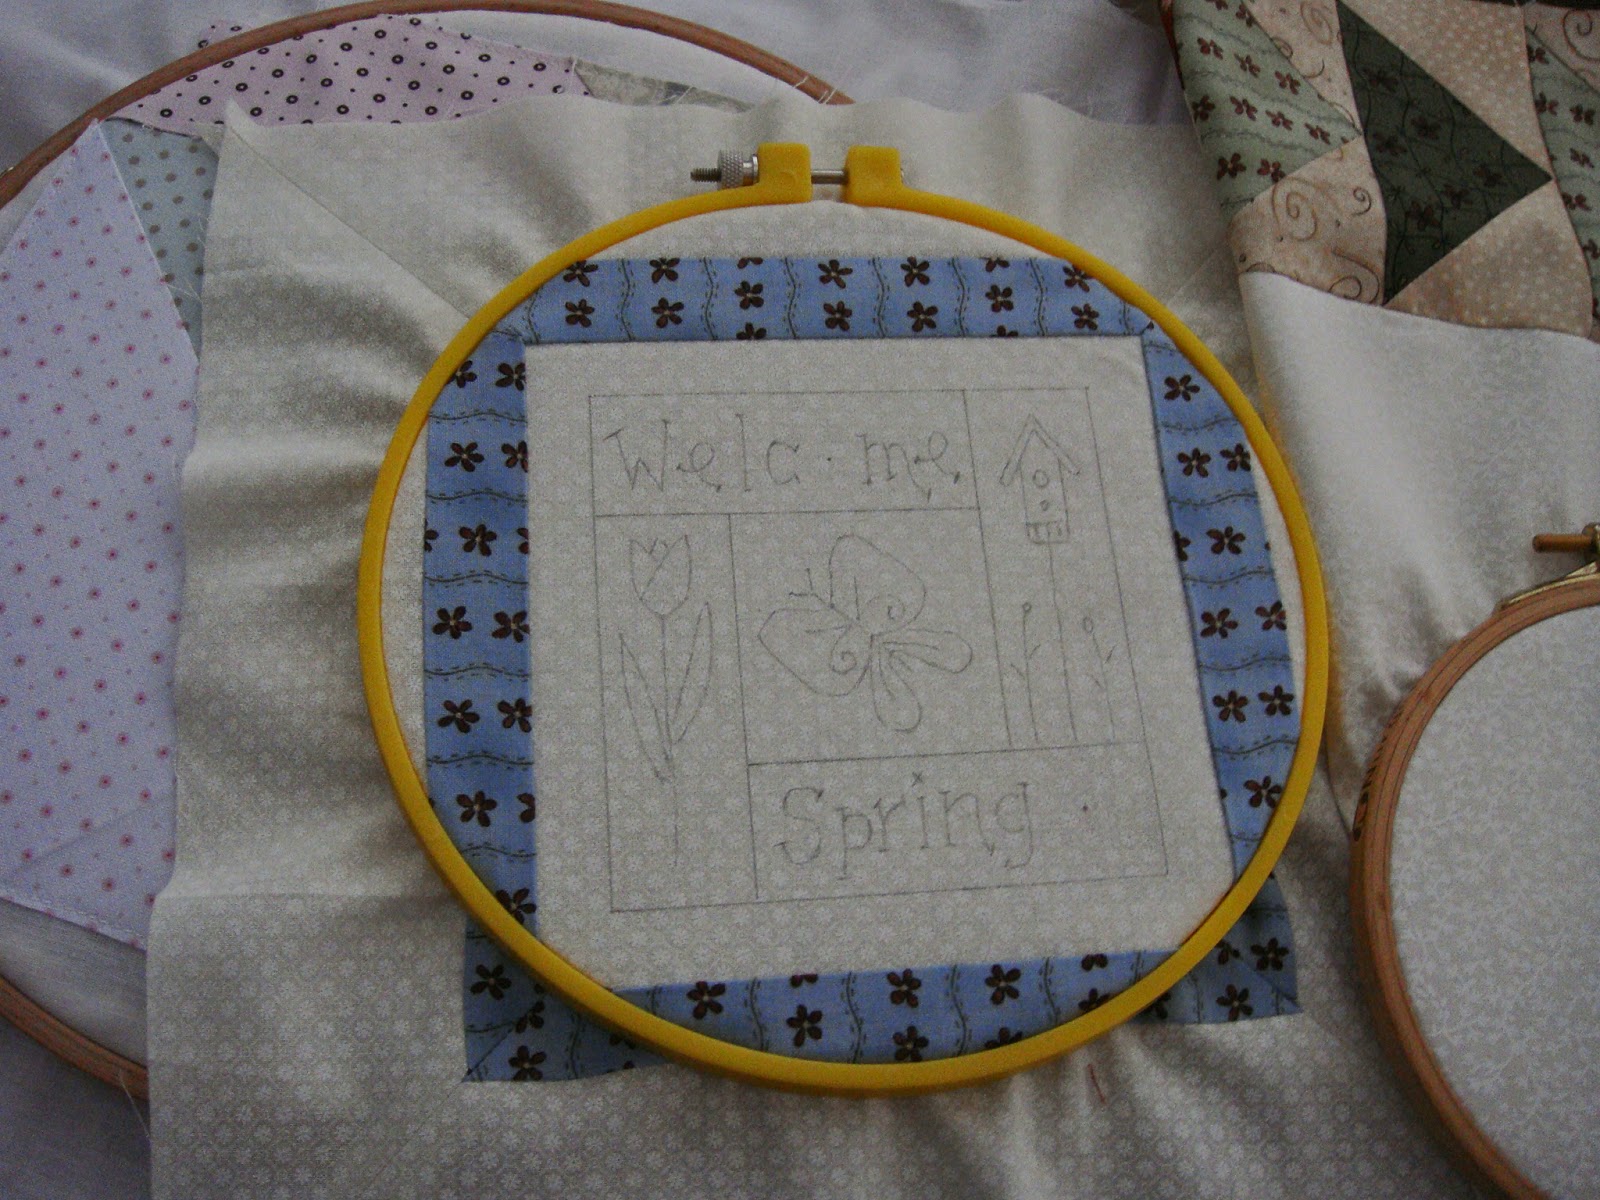
On Sunday, my sister and I went to see the Stitching, Sewing and Hobbycraft show at the ExCel in London. We had a bit of a crazy start to the day, partly due our train being delayed and various parts of the underground being shut for repair work and, partly due to our inability to read the underground map correctly! However, once we eventually got to the show we had a great time!


There was a wonderful display of quilts by the Quilters' Guild. I picked up a leaflet all about the Guild next to the display as I am interested to find out more about them. 


There were lots of craft booths to browse round and, a visit to a lovely show like this wouldn't be complete without a few purchases.I found some lovely silk ribbons to buy which will be great to try out my newly learned silk ribbon embroidery.


I also picked up some colourful felt and a great little new gadget called the 'multipom' which allows you to make lots of pom poms at the same time.  I can't wait to try it out! All in all a fun day out! 


Friday 27 March 2015

Block Three.......

After all the excitement of Issue 12 of Vignette arriving here at the beginning of the week, how could I possibly work on anything else this week apart from block three of my version of Leanne Beasley's design: Mrs Beasley's Sampler Quilt? 


I started by piecing together the base blocks. In the magazine, Leanne explains exactly how to piece up the block into mini blocks and then put them altogether to make the larger block.


The trickiest part is piecing together the little squares that make up the little quilt block in the bottom right corner.  I always press all my seams open when I am making a block like this with small pieces of fabric.


Here's a look at the back.... it gives me a lot of satisfaction to see all those seams lying nice and flat!!


Next, I worked on the dresden plate which was hand pieced using the English paper piecing method. Now, it is pinned in place and ready to be appliqued to the background.


Then, I used a fusible web applique method to applique the vase and all the flowers in position.  


They just need to have their edges finished off with a machine zig zag stitch. This little piece of applique needed to be finished before I pieced the blocks together.


Finally, I used a light box to transfer all the embroidery lines to the block. I am happy with it so far, just need to get stitching now!


Thank you for visiting and have a lovely weekend!

Wednesday 25 March 2015

Gail Pan Patterns: March Show and Tell

Hello, today is the next link up for the Gail Pan Patterns Sew-a-long hosted by Martina at Sunshine Quilting.


My project for March is not the project I originally said I was going to make when we linked up last month as, between now and then, Gail published a really sweet little free embroidery project on her blog as part of a blog hop she participated in.  As it is called 'Welcome Spring' it is really appropriate for this month and, I just couldn't resist making it.


I used some beautiful Stef Francis variegated silk thread to stitch the embroidery. I added a border made with one of the fabrics from Gail's 'Baskets in Bloom' collection and stretched the finished block over a canvas to hang in my sewing room. When I added the border, I used mitred corners in an effort to reduce the fabric bulk when stretching/folding it over the canvas. I think it helped and, I am very pleased with the finished picture.


The 'One Red Flower' needle case will be my project for next month instead.

To see what everyone else has made in the Sew-a-long this month pop over to visit Martina.

Monday 23 March 2015

Vignette, Issue 12 has arrived!!

Yay!! So excited to tell you all that my copy of Vignette Issue 12 has arrived at my house!! I get my copies of this magazine from Sally at Coast and Country Crafts.


It is such a pretty magazine, designed and written by Leanne Beasley of Leanne's House and, among a number of other lovely projects, this issue contains Block 3 of Mrs Beasley's Sampler Quilt inside! 


I have been busy today but, I have been able to sort out the fabrics that I have cut and ready to make Block 3 of this beautiful sampler quilt.  I am really looking forward to having the time to construct the block and start some of the lovely embroidery embellishments.


Friday 20 March 2015

Good news!

Hello! Today I have some good news to share.... well actually, I have a couple of pieces of good news.


With mitred corners
With mitred corners

The first is to do with my experiment to see if adding a border with mitred corners would reduce the fabric bulk and, make it easier to stretch an embroidered block over a canvas rather than the traditional method of adding a border.


With traditional borders added

I have finished stitching the embroidery (which was a free pattern designed by Gail Pan called 'Welcome Spring' and which, I will show you in more detail next week as it is my next show and tell in the latest Gail Pan Sew-a-long hosted by Martina of Sunshine Quilting) where I had added the mitred corners and, I have now been able to stretch it over it's canvas. I am happy to say that I think it does improve the 'lumpiness' caused by the seam allowances being folded over the canvas.  Have a look at the photographs above and see what you think.


Block 1 of my Mrs Beasley's Sampler Quilt

My second piece of good news is that I have heard that a copy of Vignette, Issue 12 is on it's way to me! Yay! So excited to be able to get started on the next block of Mrs Beasley's Sampler Quilt designed by Leanne Beasley.


Block 2 of my Mrs Beasley's Sampler Quilt 

Thank you for visiting me and I hope you all have a lovely weekend! 

Wednesday 18 March 2015

CQJP Challenge 2015 : March Block

I suddenly realised that I hadn't started my CQJP Challenge 2015 block for March. As March is zipping by very quickly, it is definitely time for me to get a move on!


In keeping with my previous blocks, I wanted to use Tilda fabrics for the basic block. I started with a five-sided piece in the middle of the block and then just added fabrics of different sizes to each of the sides until I had a big enough block.  I added the fabrics using a piece of paper on the back to stablise the block while I was sewing it.  When I had finished I tore the paper away from behind and then sewed the block to a piece of muslin for stability while I embellish it.  When finished, the muslin will be trimmed to size but, will not be removed.


I have used a few different colours of fabric this time and, I have made the pieces bigger so that there is more room to add larger embroidery designs. I am really looking forward to embellishing them.  It will be fun to add some of my newly learned silk ribbon embroidery. It is all hooped up ready for attention.  Embellishing is such fun.... can't wait to get started! 


There are several projects hooped up ready to go in my sewing room, so lots to work on the in evenings this week!

Monday 16 March 2015

Are mitred corners the answer?

This weekend I was tidying up in my sewing room and I found my BCQC block finished but, still all hooped up.  I wasn't sure what I should make with the finished block.  In the end I decided that I would add some borders and stretch it over a canvas so that I could have it hanging in my sewing room where I will see it every day.


I unhooped the block and trimmed it off so that the corners were square. I chose some fabric which picked out one of the thread colours that I had used to embellish the block and added a border to each of the sides.  Once I had done that, I stretched the block over a blank canvas that I had and stapled the fabric to the back.  I folded the raw edges in as I went along.


The block looks nice as a picture and I really love being able to see it as I work in my sewing room.  I have lots of blocks and wall hangings on the wall in my sewing room, I find them inspiring.  Several of the pictures are blocks that I have stretched over canvasses and, although I am pleased with them, it has irritated me that I haven't been able to get the corners to look as tidy as they perhaps could.  This is mainly due to the bulk of the fabric in the seams where the borders are added, it makes the corners a little lumpy.  


I was thinking about this dilemma as I was preparing my next project which, is a cute little embroidery design by Gail Pan.  It is called 'Welcome Spring' and was a free pattern as part of a blog hop that Gail participated in.  I had decided that I would embroider the design and make it up into another little canvas picture.  I suddenly had the idea that perhaps adding a border with mitred corners would help reduce the bulk when stretching the fabric over the canvas.


I have never added a border with mitred corners to either a block or a quilt top and I thought it might be time to learn how to do it.  I found a great video tutorial by the Fat Quarter Shop which is was very easy to follow.


I was pleased with the result and, once I have finished the embroidery and I am ready to stretch the fabric over the canvas, I will let you know if it gives the neater finish on the picture that I am looking for!!  At the moment it is all hooped up ready for stitching!


Friday 13 March 2015

An urgent request.....

Earlier this week I received a package.  Not the usual package of bits and bobs that I have ordered but a very special package, containing a very special item.  It was a little plush dog called 'Jazz'.  With Jazz came a sweet little notecard (with a beautifully coloured frog on the front) from an even sweeter little girl and, it contained an urgent request.  She wanted to know if I could make Jazz well again.


The note started off like this " Dear Auntie Chris, my mom said you could fix my best friend Jazz. He has 3 or 4 holes, one is on his nose....."  Well, how could I refuse a request like that?


As you can see from this photo, Jazz did look a little sorry for himself.... he did have several holes, one ear was a little bit loose and his head was a little bit floppy.  


So I set about restoring him to better health.  His holes have been mended and his ear restitched. He has been plumped up a little so that he can hold his head up high again and he also has a nice new collar with a little shiny bell.


After his treatment I thought Jazz deserved to have a bit of fun before he made his long journey home (he flew all the way from the USA) so, he and I had a day out sight-seeing!!


He visited Windsor Castle and had his photo taken with a soldier.....


But, all good things have to come to an end and after being carefully wrapped up in a nice warm box, he is now on his way back home.  Hope you have a good flight Jazz! 

Tuesday 10 March 2015

United Stitches

This weekend I had time to start on a new project... the first block in the United Stitches Quilt.  For those of you who haven't heard of it, United Stitches is a 'stitch and switch' adventure designed by Australian designer Rosalie Quinlan and distributed by Creative Abundance.


The idea is that you purchase mini stitchery kits containing a piece of pre-printed linen fabric which has two identical stitchery designs printed on it. You complete the two embroideries, keep one for yourself and then swap the second embroidery with a friend who is also participating in United Stitches.  Alternatively, you could just make something with the second block to share as a gift for a friend.


The little kits also contain two swap cards where you can note down who stitched the block and where it was sent.


That way, you know the origin of the blocks you collect to make up your final United Stitches Quilt and where you sent your blocks to.


The starter kit includes the first two embroidery designs, details of the ideas behind United Stitches, a 4.5" square ruler to help you trim your embroidery blocks, the instructions to make the United Stitches Quilt and a cute little tin where you can collect and keep all your swap cards safe.


You don't have to buy all of the kits or make the final quilt if that is too time-consuming. There are also suggestions for other projects that you could use the embroidered blocks for or, you can use them to decorate a project of your own design.


Rosalie has used Cosmo threads to stitch the embroidery designs and has used her own fabric range, Chirpy Lola to make the final quilt.  However, I don't have easy access to Cosmo threads and, I have decided to make the final quilt using my newly purchased Tilda fabric.   I bought DMC threads to stitch the embroideries with and I have matched them as closely as I can to those recommended in the pattern as well as the fabrics I will use.


I love the embroideries that Rosalie has designed for this quilt project and, I am looking forward to finding other quilters to swap blocks with.  

I am also participating in a United Stitches Stitch-a-long that Melody of House on the Side of the Hill is hosting. I am looking forward to joining in all the fun!